How to Add Charts to Email Newsletters
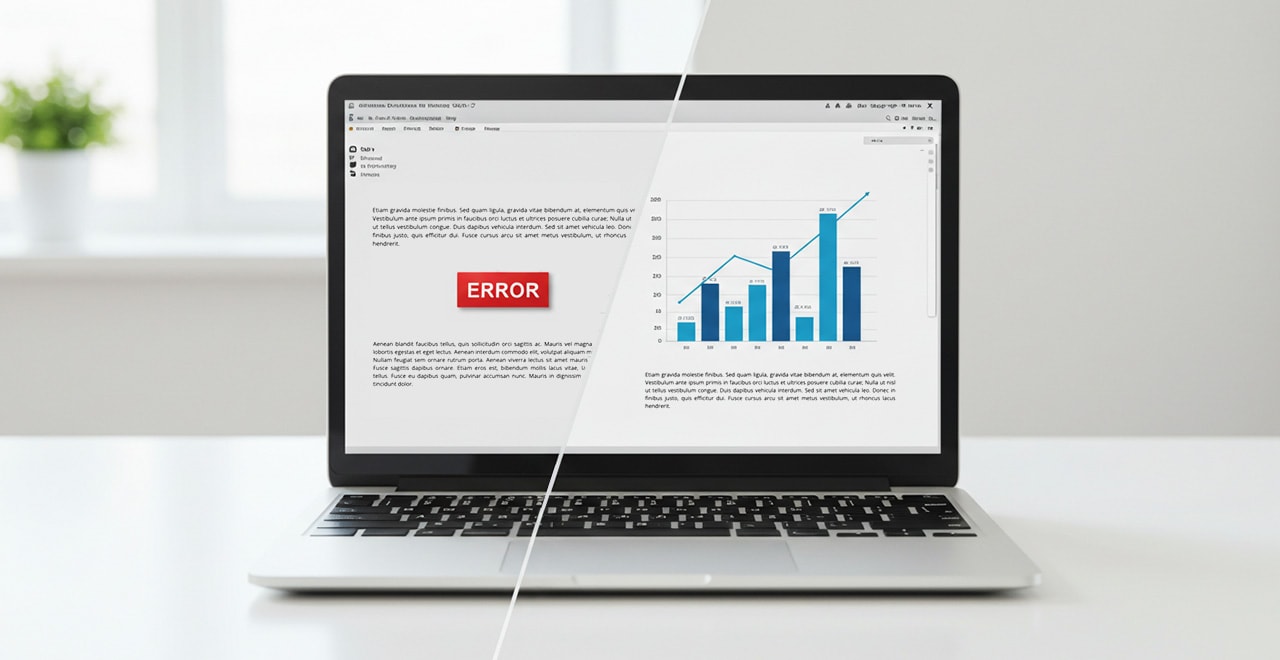
If you've ever tried to jazz up your email newsletter with a live chart or slick embed code, you know the pain: broken images, sad little “click to view,” or (worst of all) a blank space where your hard work should shine. Unfortunately, email clients like Apple Mail, Gmail, and Outlook are allergic to fancy embedded code and JavaScript. Only one thing will work: good old-fashioned images.
These tips will help you find the frustration-free way to get your data into subscribers' inboxes.
Why You Can't Just “Embed” Charts in Emails
- Email clients block scripts and HTML5 embeds.
Even the most cutting-edge chart ends up invisible in most inboxes. - Security is tight.
Most email platforms strip out all but the most basic images for safety. - Images work everywhere.
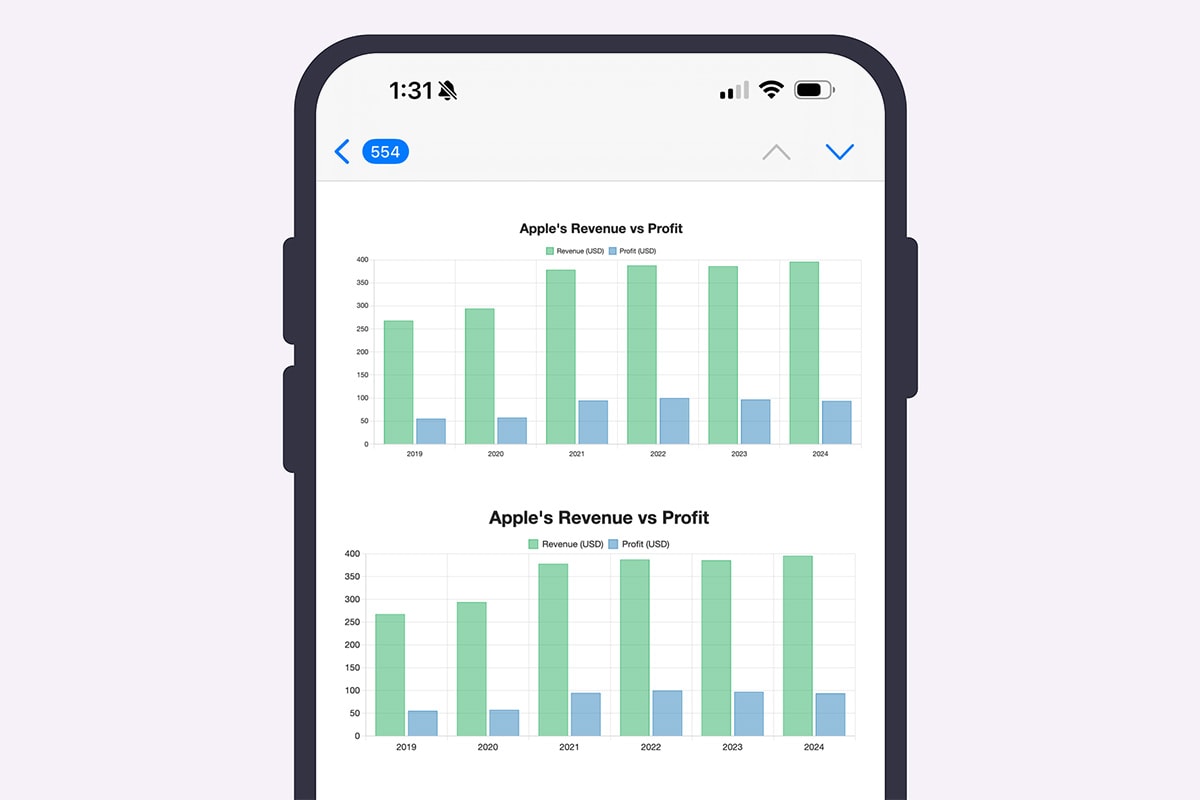
Want universal, mobile-friendly charts? Use trusty PNGs or JPEGs.
How Big Should My Chart Image Be?
- Width: Around 600px. This works well for most newsletter layouts and looks great on both desktop and mobile. (Your image can be wider, but make sure the text is big enough that it's still readable when resized smaller)
- Height: 250–400px is usually plenty for most charts.
- Format: PNG or JPEG for the broadest support across email clients.
Easy Methods for Making Email-Ready Chart Images
1. SnappyCharts
If you use SnappyCharts, you're a few clicks away from inbox perfection:
- Create or open your chart in SnappyCharts.
- Click the Download image button above your chart.
- From the dropdown, pick Small image, which is sized just right for email newsletters.
- Upload the image into your newsletter builder (Mailchimp, Substack, ConvertKit, etc.) or drag it into your message as you would any image.
Pro tip: SnappyCharts automatically optimizes images for email—no cropping or resizing required. Just bump up the font size a bit if needed.
2. Google Sheets
Have you built your chart in Google Sheets? Here's how to export it for your newsletter:
- Click your chart to select it.
- Click the three-dot menu (top-right of the chart) and choose Download.
- Select PNG image.
- Insert the image into your email just as you would any picture.
- You may need to adjust the size of the chart within your document and export it again to achieve a suitable size.
3. Excel
Here's how to wrangle a newsletter-ready chart image from Excel:
- Create your chart and select it.
- Right-click and choose Save as Picture.
- Select a PNG or JPEG file.
- Drop the image into your newsletter.
- If the size isn't working, you may need to adjust the layout and save the image again.
Bonus Pro Tips
- Test before you send. Preview your email in various clients and devices to ensure your chart looks great everywhere. If not, you'll typically need to increase the font sizes slightly or adjust the ratio so it's a bit more square than rectangular.
- Alt text! Describe your chart in the image's alt text for accessibility and better engagement. Users will see this text if images get blocked or before the image fully loads.